To verify that our installation is running fine, let’s develop a simple “Hello World” servlet and run it on each of the previously configured application servers. All three application servers which we configured support the Servlet API 3.0, so we can use the @WebServlet annotation and do not need a deployment descriptor for the servlet.
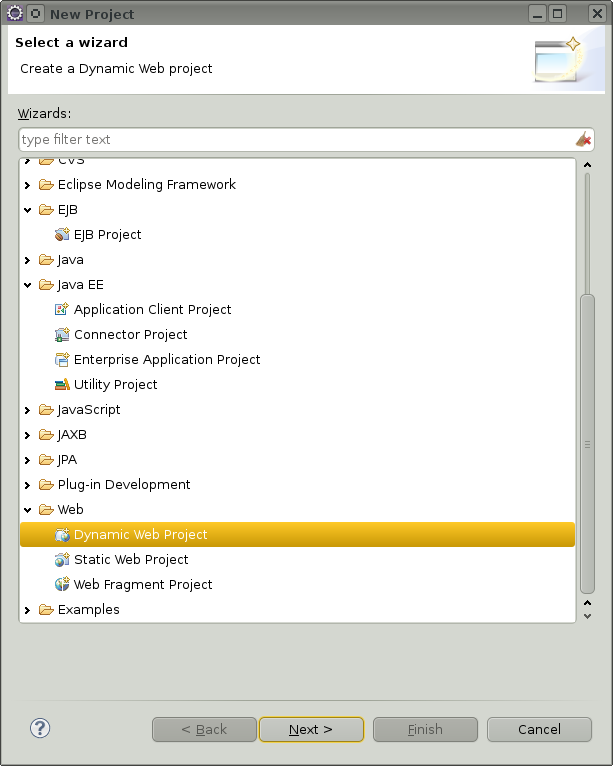
First, create a Dynamic Web Project by opening “File => New => Other …” and selecting “Web => Dynamic Web Project”:
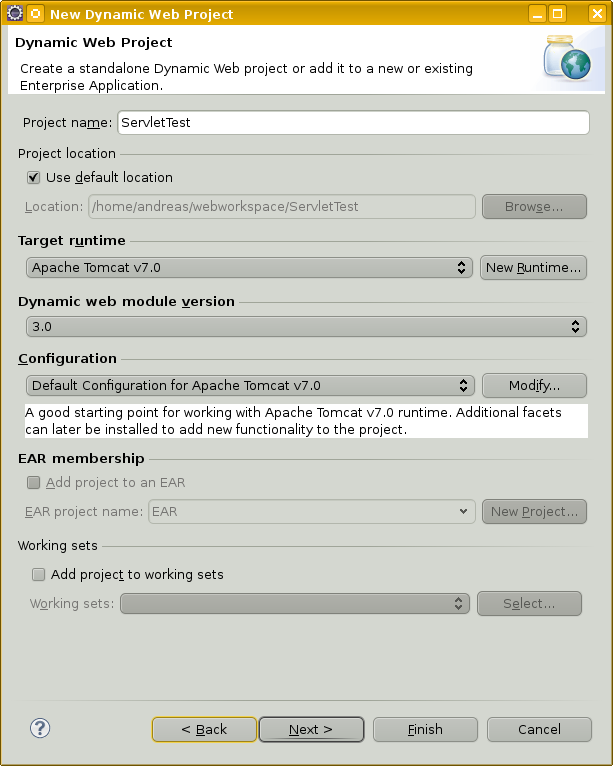
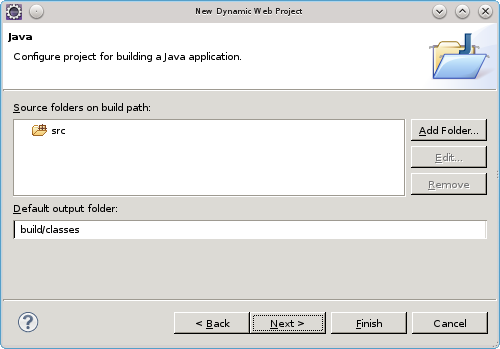
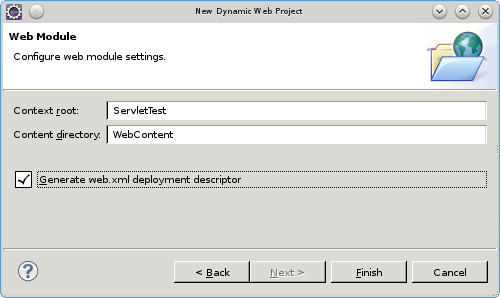
Press “Next >” to configure the project. In the first dialog, enter a project name and use the default values for all other settings. Press next to open the source folder configuration, and leave the settings at their defaults. Press next again to open the Web Module Configuration. Enter a context root (the part of the URL which will later call the servlet) and make sure that “Generate deployment descriptor” is checked:
Press “Finish” to create the new web project. Then, create a new Servlet (select the ServletTest project => New => Servlet, and enter a package name and a class name for the Servlet class:
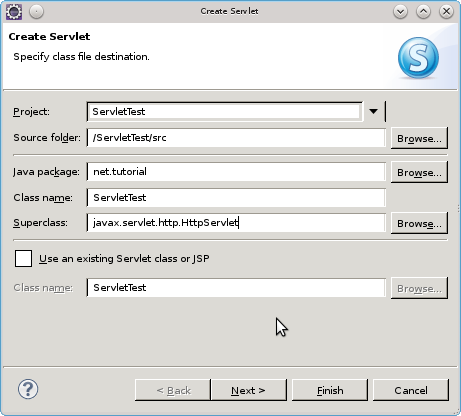
Press “Next >” to open the dialog to configure servlet parameters:
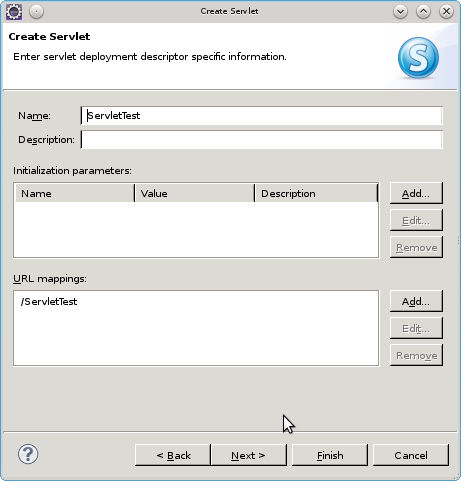
Leave all entries at their defaults, and press “Next >” to configure the servlet methods to implement by default:
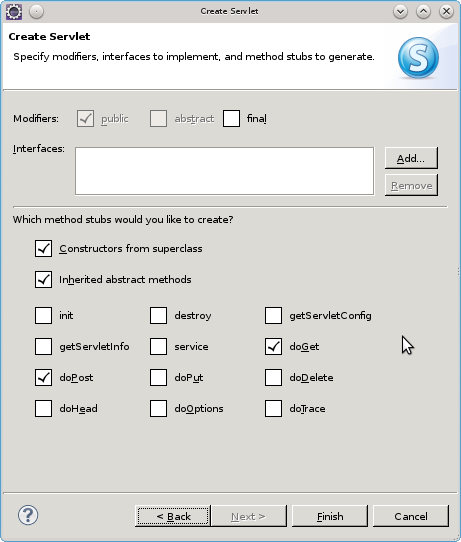
We want the doGet() and doPost() methods, so leave everything as it is and press “Finish”. In both the doGet() and doPost() methods, add some output to print information about the application server when these methods are called:
PrintStream out = new PrintStream(response.getOutputStream());
out.println("Hello " + getServletConfig().getServletContext().getServerInfo());